Part 1: 3D Design
Prototyping with Fab
This part of the course is an individual work, you can help each other but you cannot work together on the same project or deliver similar work.
You have until to complete and submit your documentation in the Share your project page.
In this part we will design the 3D parts of our prototype with Tinkercad and then we will manufacture them with the Zortrax M200 3D printer. The 3D printer is undoubtedly the machine most used by makers and the most emblematic of fablabs.
The makerslabs on each emlyon campus are equipped with Zortrax 3D printers, so let's take a closer look at this tool and see what possibilities it offers.
3D printing uses 3D files as a starting point. A 3D model is a mathematical representation of an object in 3 dimensions. This type of format has been used for a long time by several trades such as:
- Architects to project future building sites.
- Manufacturers to simulate and prototype a product.
- Designers to experiment and design new parts.
- 3D artists to create video game environments or video special effects
- etc.

Source: Vectary
Each professional uses different software (Blender, Maya, Rhinoceros, SketchUp, Solidworks, etc.) and the way of modeling differs according to the creative process and the uses: we can model only external surfaces or directly volumes, use mathematical values that can be parameterized or not, make animations, add textures or colors, simulate the resistance of a part, etc. In our case, we will discover the basics of 3D modeling to prototype an object with 3D printing.
Yes but, what is 3D printing?
Unlike laser cutting which is a subtractive manufacturing technique, 3D printing is an additive manufacturing technique. The part is built layer by layer by adding material.
Additive manufacturing is a term that encompasses many 3D printing techniques. We will discover them in more detail in the second part of the course.
In the following video you can discover how the main printing technologies work and why they are widely used for prototyping.
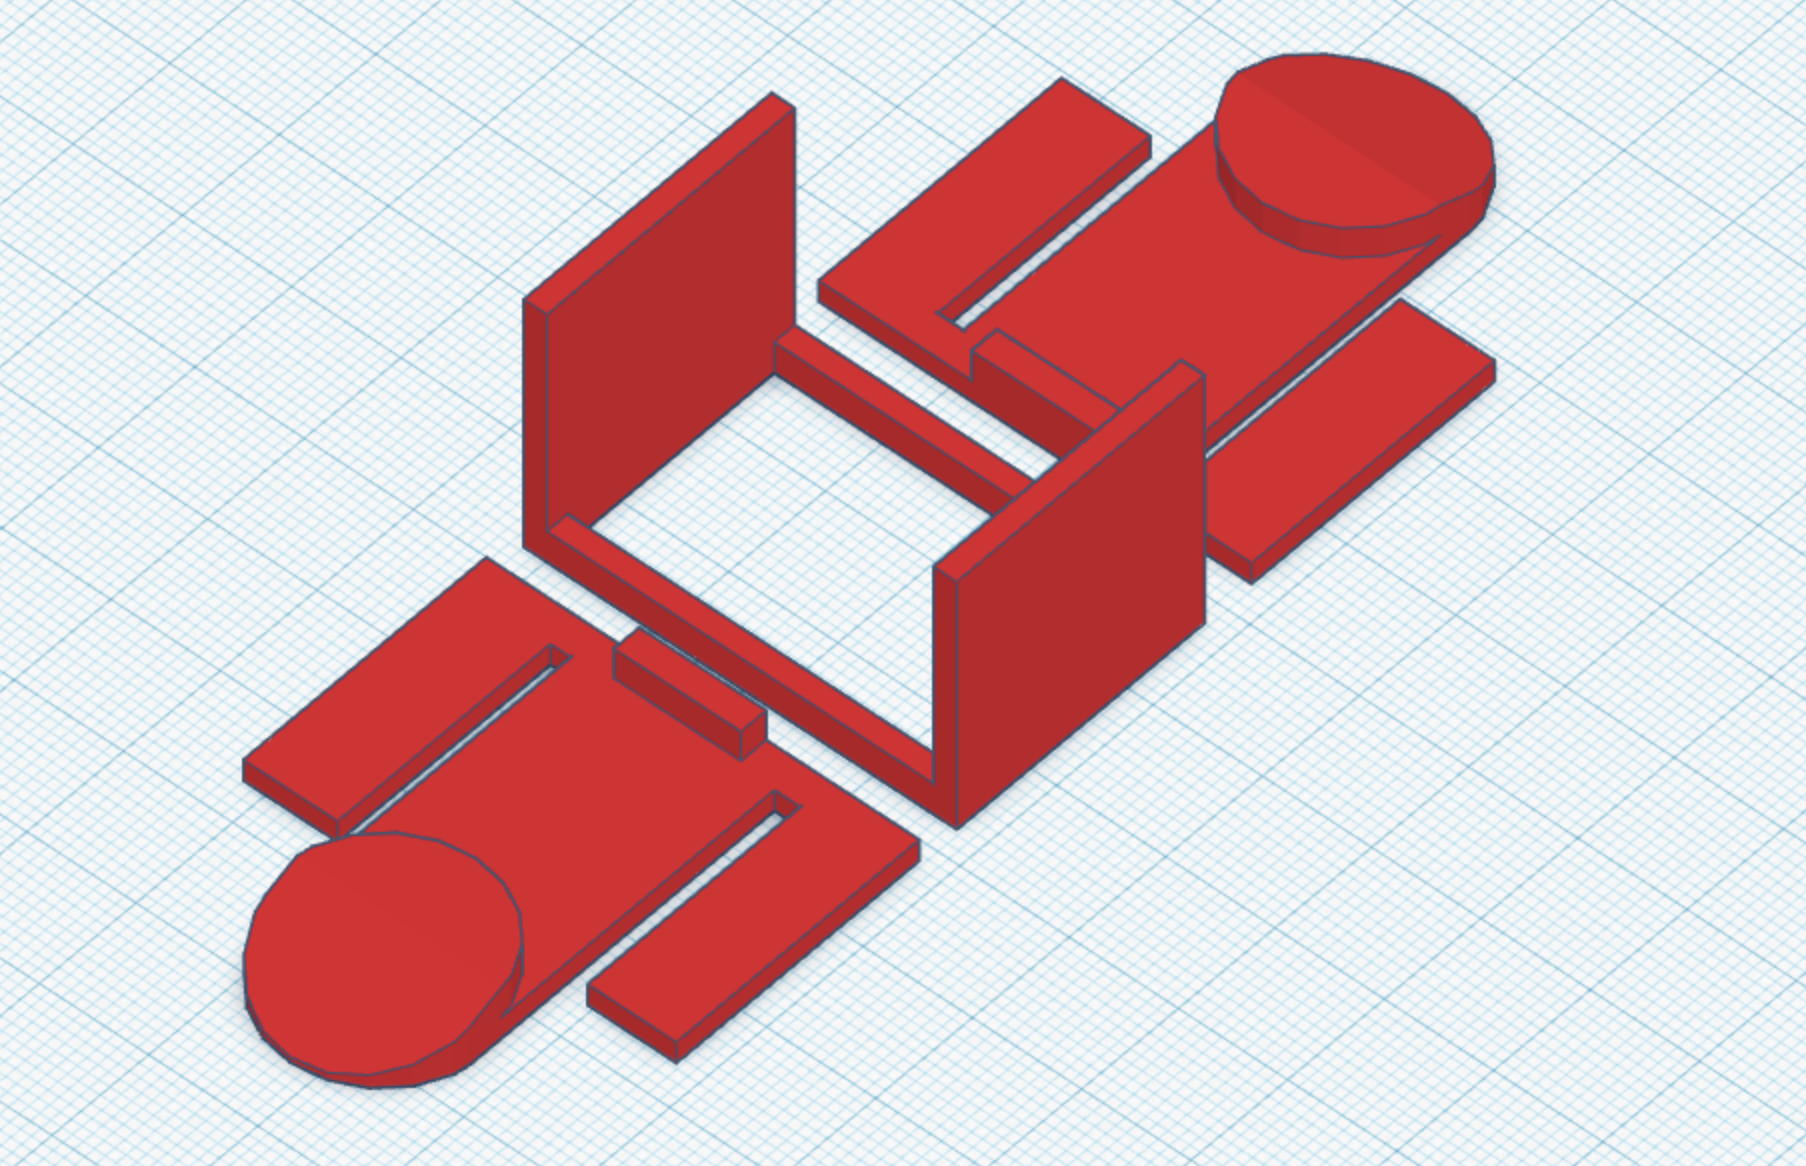
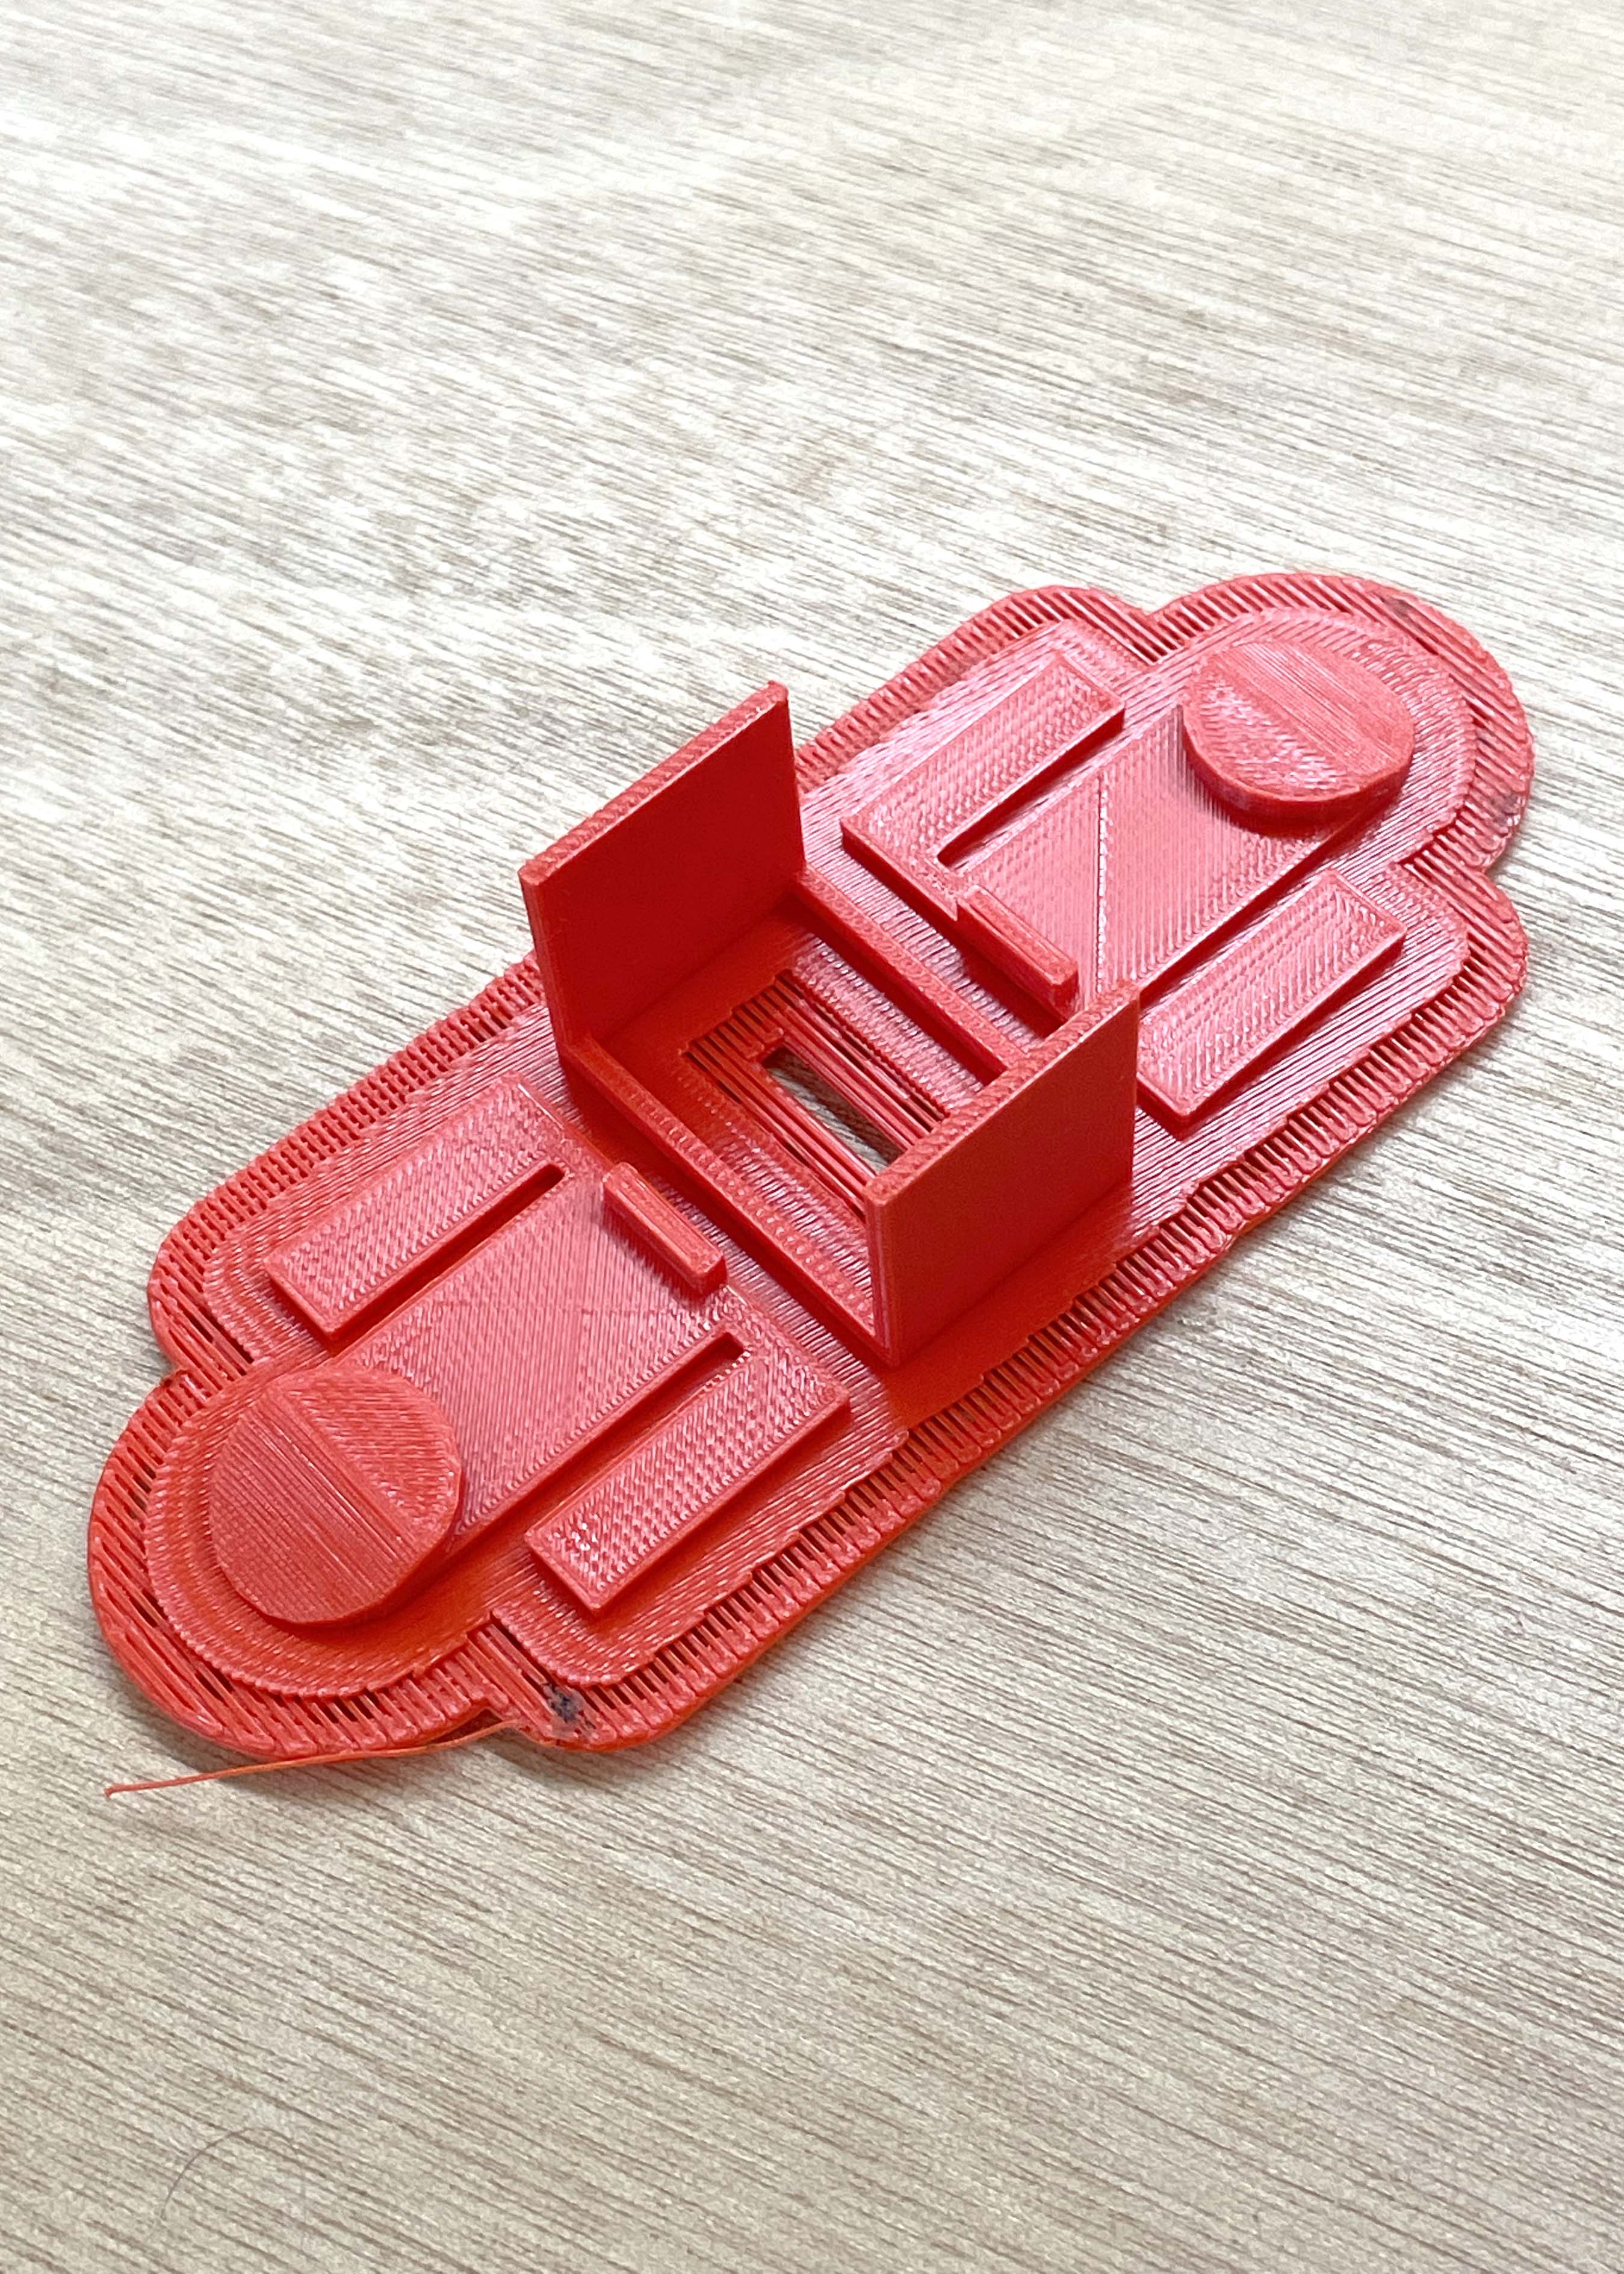
In this course we will use 3D printing to make our own prototypes. The following images show the use of 3D printing in the example of the cutlery case prototype.

Project
Now that we understand how 3D printing works we will design our first project in 3D and then print it!
But before you start, you need to define which parts are to be printed: add the list of parts to be printed in your documentation without forgetting to include a short description.
Beware! printing can be time consuming so if you need a box or large flat shapes, cardboard or laser cut parts assemblies will be more suitable. 3D printing should be reserved for small, complex parts that cannot be made "flat".
Now that we have defined our needs, if not already done, we need to measure the dimensions of each part and add them to the drawing as indicated on the drawing page. If everything is ready it's time to start the 3D modeling!
TinkerCad
In this course, we will use Tinkercad, a totally free software available online directly in the browser (without downloading).
Start by watching this introductory video that shows a few features. Don't worry if you don't understand everything: we'll go over some points below.
Create a design
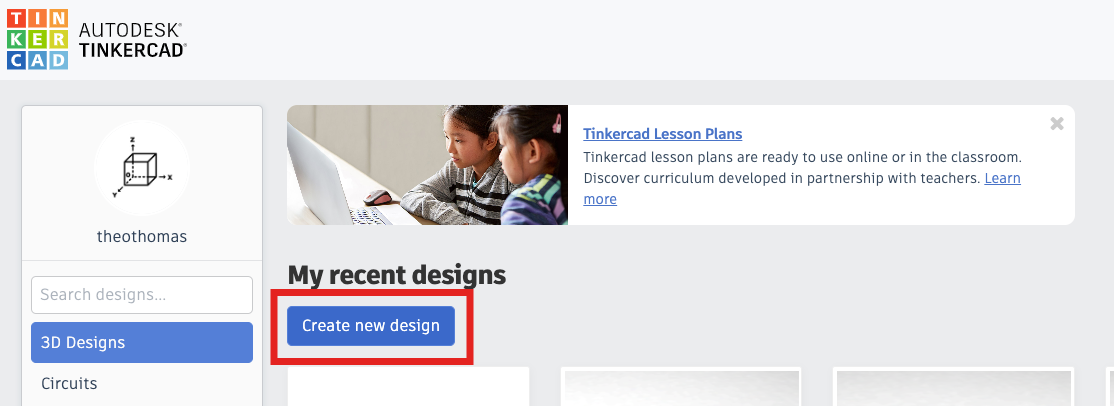
First, we open TinkerCAD and create an Autodesk account. As shown in the video, we will create a new design by clicking on create new design in the 3D design part (in the left menu)
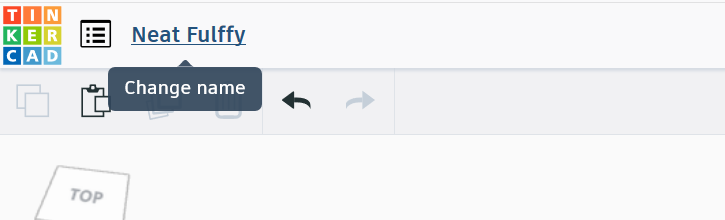
Rename
We have to rename our project: a random name is automaticly generated at the beginning. Click on it to change it.
It's time to exercice by testing all the features shown in the video. The lego brick is a perfect training session !
TinkerCAD saves automatically your work. If you want to come back later or to change computer you just have to login again and return in your tinkerCAD library to find back your design.

Exercise Yourself!
Before you start modeling your own pieces, start by practicing by testing all the features presented in the video. The lego brick in the video is perfect practice! Take a moment to try to reproduce it as closely as possible.
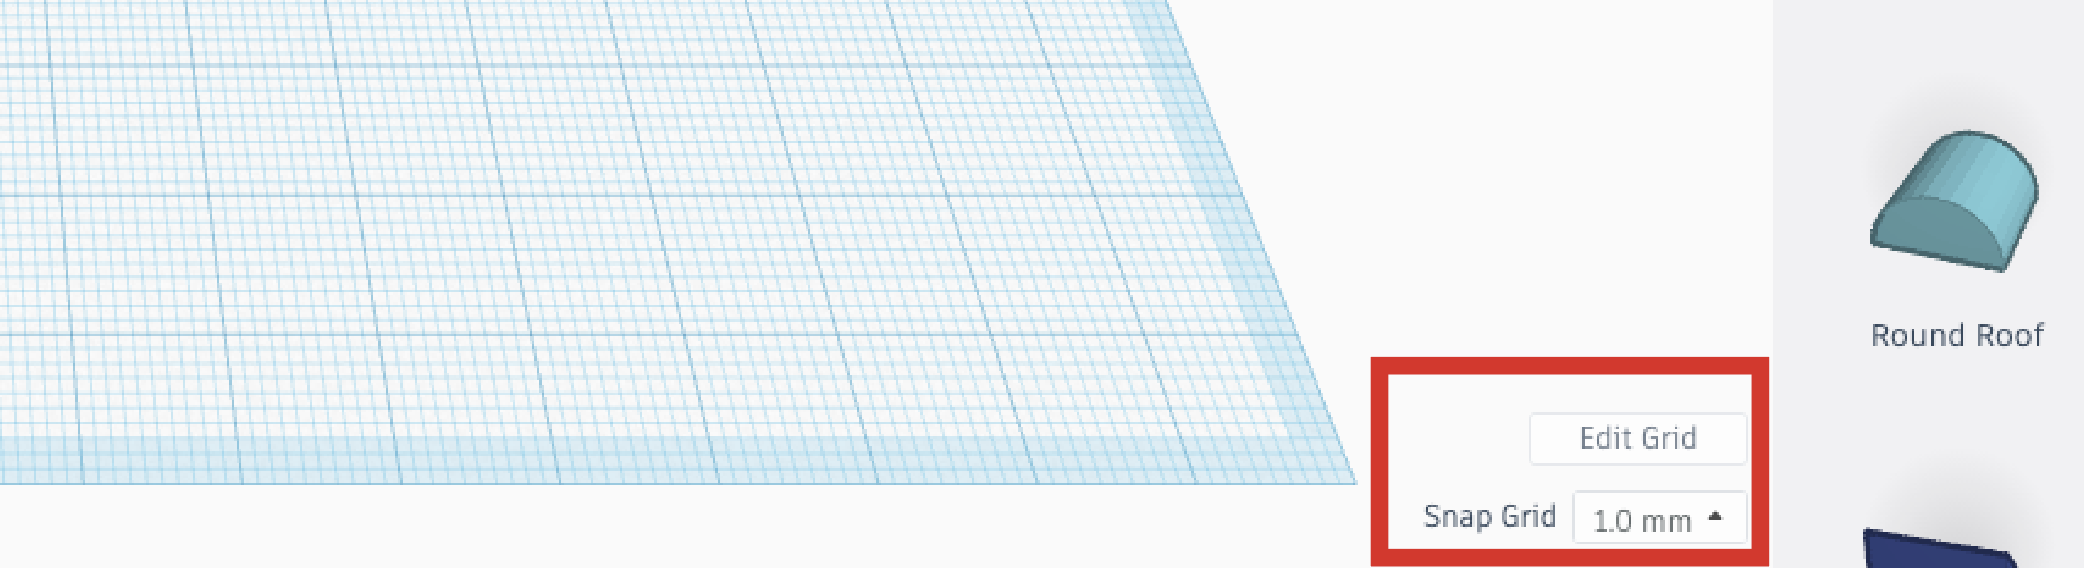
Dimensions and grid
You are not limited by the dimensions in Tinkercad. The grid in the workspace is just an reference plan but you can go outside. Imagine that this is the plate of the 3D printer on which your object is going to be built. If you want to change its size and settings, you can click on the edit grid button on the down right corner of your work area.
For this course, all the 3D parts of your project must be printed in less than an hour. Therefore, choose small parts of less than 5cm. We will see below how to obtain the estimated printing time.
Design guide
Now that you know the basics of 3D modeling on Tinkercad, we will guide you through the drawing of your parts. This guide is only there to help you: feel free to proceed differently! The most important thing is that you get a well-designed 3D object that can be used for 3D printing.
- As for the paper drawing refer to your PoC to give you an idea of the dimensions
- Create the first pieces of your design, assembling basic shapes, such as spheres, cubes and cylinders.
- In the same design you can create different objects and files corresponding to the different parts of your prototype.
- Export your files as .STL files by clicking on Export on the right side of the screen. Rename your file by adding your name as it appears in BrightSpace, as well as the date of the last modification.
Remember that in TinkerCAD each object can be a solid or a hole, or to put it another way each volume can be used to add or remove "material". Don't forget to group the volumes together to validate the operation!
Name the files clearly so that your project is understandable to everyone!
Design Tips
Navigate the view
Get in the habit of regularly rotating the view around your design to ensure that objects are properly aligned. The display on the computer screen can be misleading and seemingly overlapping ojects can actually be far apart
Using the mouse to control the view:
- Use the scroll wheel to zoo in and out.
- Click and hold the right button while moving your mouse to rotate the view.
- Click and hold the right button and press the shift key while moving your mouse to pan the view.
Use the construction plans
The construction plane tool is essential when modeling on tinkercad: it allows you to place the modeling plane on the surface of an existing volume. Drag it where you want to model and the volumes will be placed with the right orientation.
To return to the default design simply drag a new design anywhere outside your model.
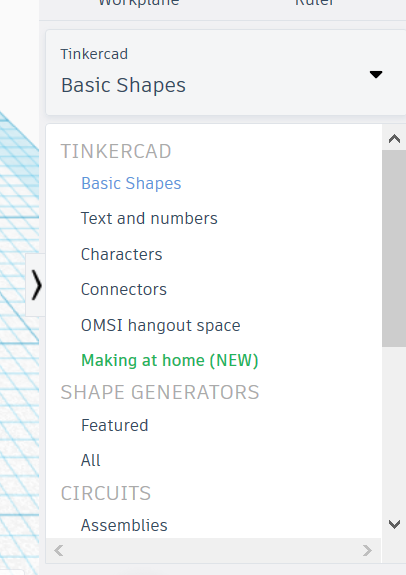
Import existing 3D elements
Need to simulate an existing object ? And you don't want to modelize it ? There are solutions ! There aren't only basics shapes in your library : you can look for tons of elements. For example "Making at home" collection contents ready to import water bottles or cups you might use in your POC.
You can also import 3D files from other softwares or websites. Click on the IMPORT button on the top right to select .STL or .OBJ
As you master 2D design thanks to the 2D drawing module, know that you can also import .SVG in TinkerCAD the same way we learn to import 3D files through the IMPORT button
Your 2D design will appear and be automaticaly extruded with an height of 20mm.
Extrude = to transform a 2D shape as a volume by giving it a thickness.
Click on your 2D shape to modify its height or scale, and place it where you want !
3D Printing
We have finished modeling your parts? It's time to print! As with TinkerCAD, start by watching the following video which outlines the steps to take to prepare for 3D printing.
Z-Suite
Z-suite is the software dedicated to printing on Zortrax 3D printers that makers' labs are equipped with. It is called a "Slicer": the slicer is the software that transforms a 3D file into "slices" so that the 3D printer knows how to build it. This software is installed on the imacs of the makers' lab, you can also download it for free to install it on your own computer.
Open Z-Suite and follow these steps to prepare for printing:
- Add your files in .stl format by clicking on ADD FILE. The 3D model is automatically placed in the center of a virtual tray symbolizing the printing area of the machine.
-
As explained in the video, configure your file in the PRINT SETTINGS step, taking into account:
- the machine model, M200 or M200 plus
- the desired size
- the optimal orientation if the part is to be turned
- print quality and layer height
- the type of filament
- the filling
- If all parameters are ok, the next step generates the slicing and the layers appear in a preview. This is the time to look at the estimated time and adjust the parameters if needed.
- If everything is ok, click on "EXPORT FILE" to export the file
- Turn on the selected printer if it is turned off, the switch is at the bottom left next to the power outlet. Also turn on the filter on top if the machine has a filtration (switch at the top left). Then insert the SD card or USB key containing our file
- At the end of the printing process, remove the piece with a spatula, taking care not to hurt yourself: the edge of the plate is sharp! Gloves are available if needed and contact the makers' lab team if you can't remove your object.
In the makers' lab we use only Z-ULTRAT
REMINDER: For this course, all the 3D parts of your project must be printed in less than one hour. Try to print in lower resolution if the project takes too long and with a higher layer thickness, 0.29mm or for example
Before printing, open the cover to check that there are no parts left from a previous print and that the tray is clean. If necessary, use the spatula to gently remove any residue or previously printed parts.
In case of unusual operation of the machine (noise, layer shifting, etc.) or any other problem, please alert the makers'lab team immediately!
You can find the complete documentation for Z-SUITE print settings on the Zortrax website.
Congratulations on your first 3D printing!

Documentation
If you're working on Tinkercad, you can directly share your project by making it "public". It will generate a link that also allows you to share your model outside of the platform. You can also embed your design in your documentation. Follow the instructions in the following video to make your work "public" and copy the embed link.
Be sure to add all your .STL files to the 3D design section of your documentation and add a clear description for each file. Also add images of your unassembled parts coming out of the machine, then assembled on your prototype. You can also add a video to explain your process.