Part 1: Quick & Dirty
Prototyping with Fab
This part of the course is an individual work, you can help each other but you cannot work together on the same project or deliver similar work.
You have until to complete and submit your documentation in the Share your project page.
Now that we get the spirit of prototyping, let's create our first mockup!
The main brake to the realization of the project is not to taking action. The best way to get a first result is to quickly create a first draft of your idea, as soon as possible.
We don't need engineer plans, designer skills, incredible machine to create a thing. Our environment is full of resources to create a first prototype of our idea : "quick & dirty"
“The contraption wasn’t very handsome, but it worked”
Jim Lovell, Appolo 13
(Excerpt from the movie Appolo 13)
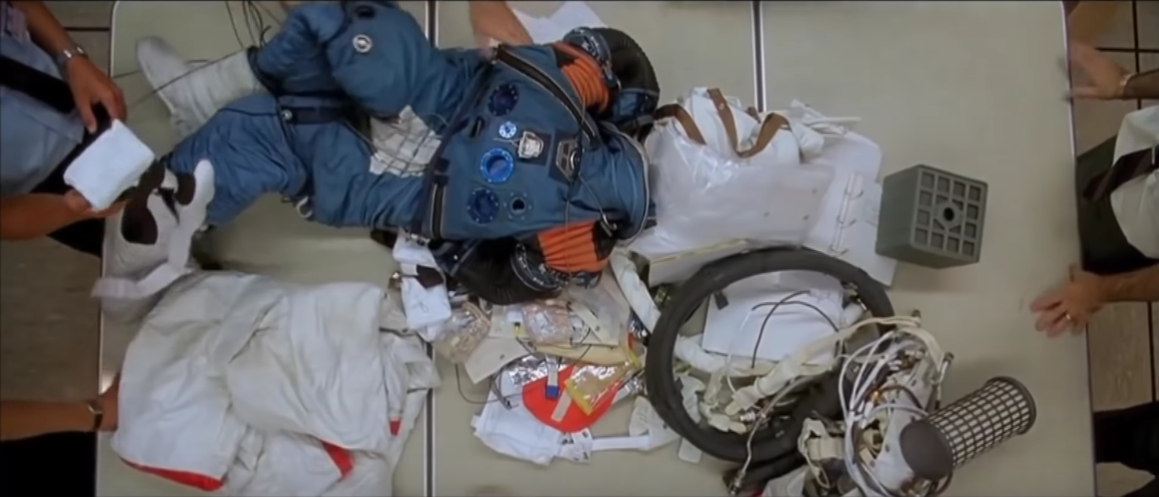
Did you know the Appolo 13's famous sentence "Houston, we have a problem" context ? It's about saving 3 lives in space by adapting a "round peg to fit in a square hole" in a limited time with limited resources in a spaceship.
"Thank god we are early makers."
Finally they created their functionnal filter with paper plans, socks and tape: no excuses to create impossible things!
Your idea can't stay an idea.
The goal of this first step is to begin, by MAKING a thing.
A first mock-up is your our first interlocutor and will already raise questions to bounce back and make decisions.
Does my object need to be bigger? Is the color important? Is the weigh a problem? etc.
The goal is not to answer to all these questions now: it's about helping us to find the questions themselves. Our first PoC doesn't need to be beautiful, it only has to help us to complete our goals to make user tests with other people.
Ready ? Go !
There are infinite ways to use stuffs to create. Let's see some examples but you are free to use everything else to create.
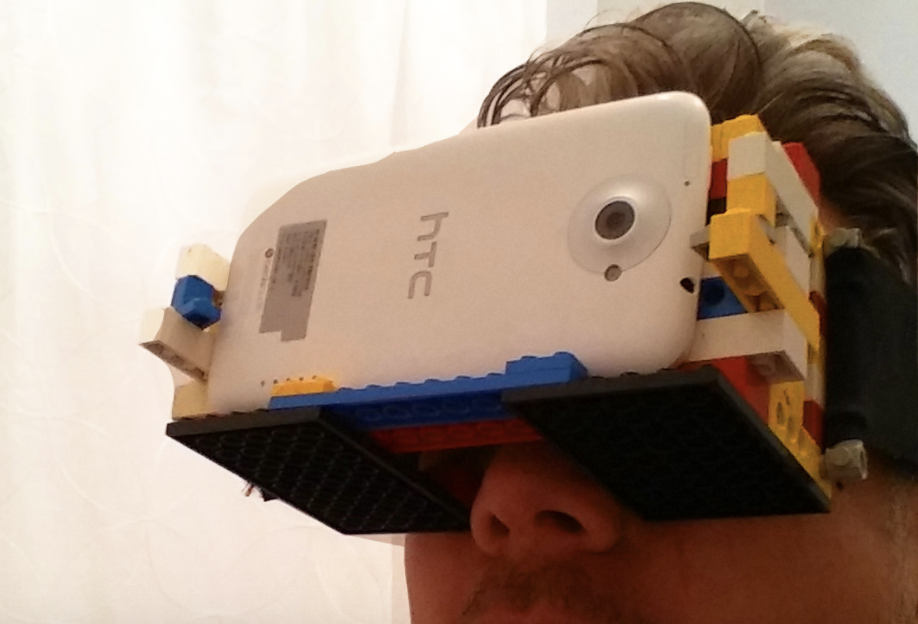
Don't hesitate to re-use existing things in your prototype. Your product need a tank? Use a cut plastic bottle. Your product will be attached on glasses? Create your prototype directly on old sunglasses, etc. Focus on the interesting parts, no need to recreate elements that are easy to find or replace by elements you already have at home when it's not necessary.
-
Paper and cardboard
The most easy resource to find. This video is a great example :
Cardboard is an excellent base material for making prototypes quickly:
- It is widely available, look around you and you will realize that cardboard is everywhere: delivery boxes, cereal packaging, disposable dishes…
- It is very easy to work with and can take all kinds of forms: to convince yourself, check out Jude Pullen's videos on cardboard modeling techniques.
- You don't need many tools to work with it: just grab a ruller, a cutter, a pencil and some adhesive tape and glue and you're ready to go!
- Use packing tape! It is the fastest and cheapest way to make strong assemblings.
- You can easily change its appearance: you just have to paint it, draw directly on it or glue materials on it.
- Since it is a (almost) free material, you have the right to make a mistake and start again.
So don't hesitate any longer and get started!
Here are some links to tutorials that explain how to use cardboard to quickly make a prototype:
How to make a cardboard prototype
How to Use Cardboard to Prototype Your Projects
An example of cardboard prototyping : an electric screwdriver
-
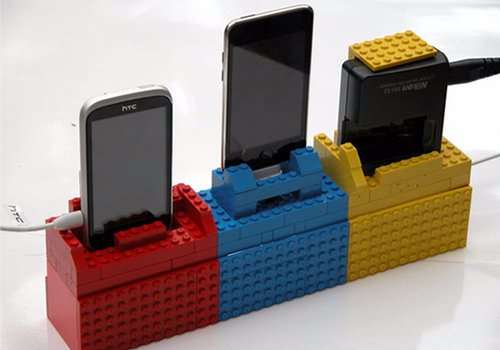
Legos, Kapla and all sorts of construction toys
![Go Showprototype by Sam Gebhardt]()
"Go Show" prototype by Sam Gebhardt Still a good way to do, undo& redo! One of the best way to quickly 3D mount parts or full objects. Feel free to mix it with other stuffs!
-
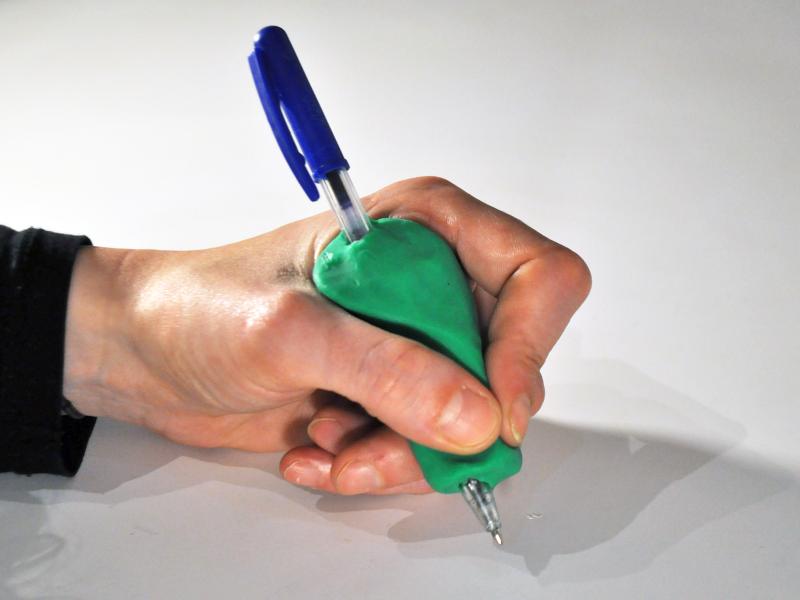
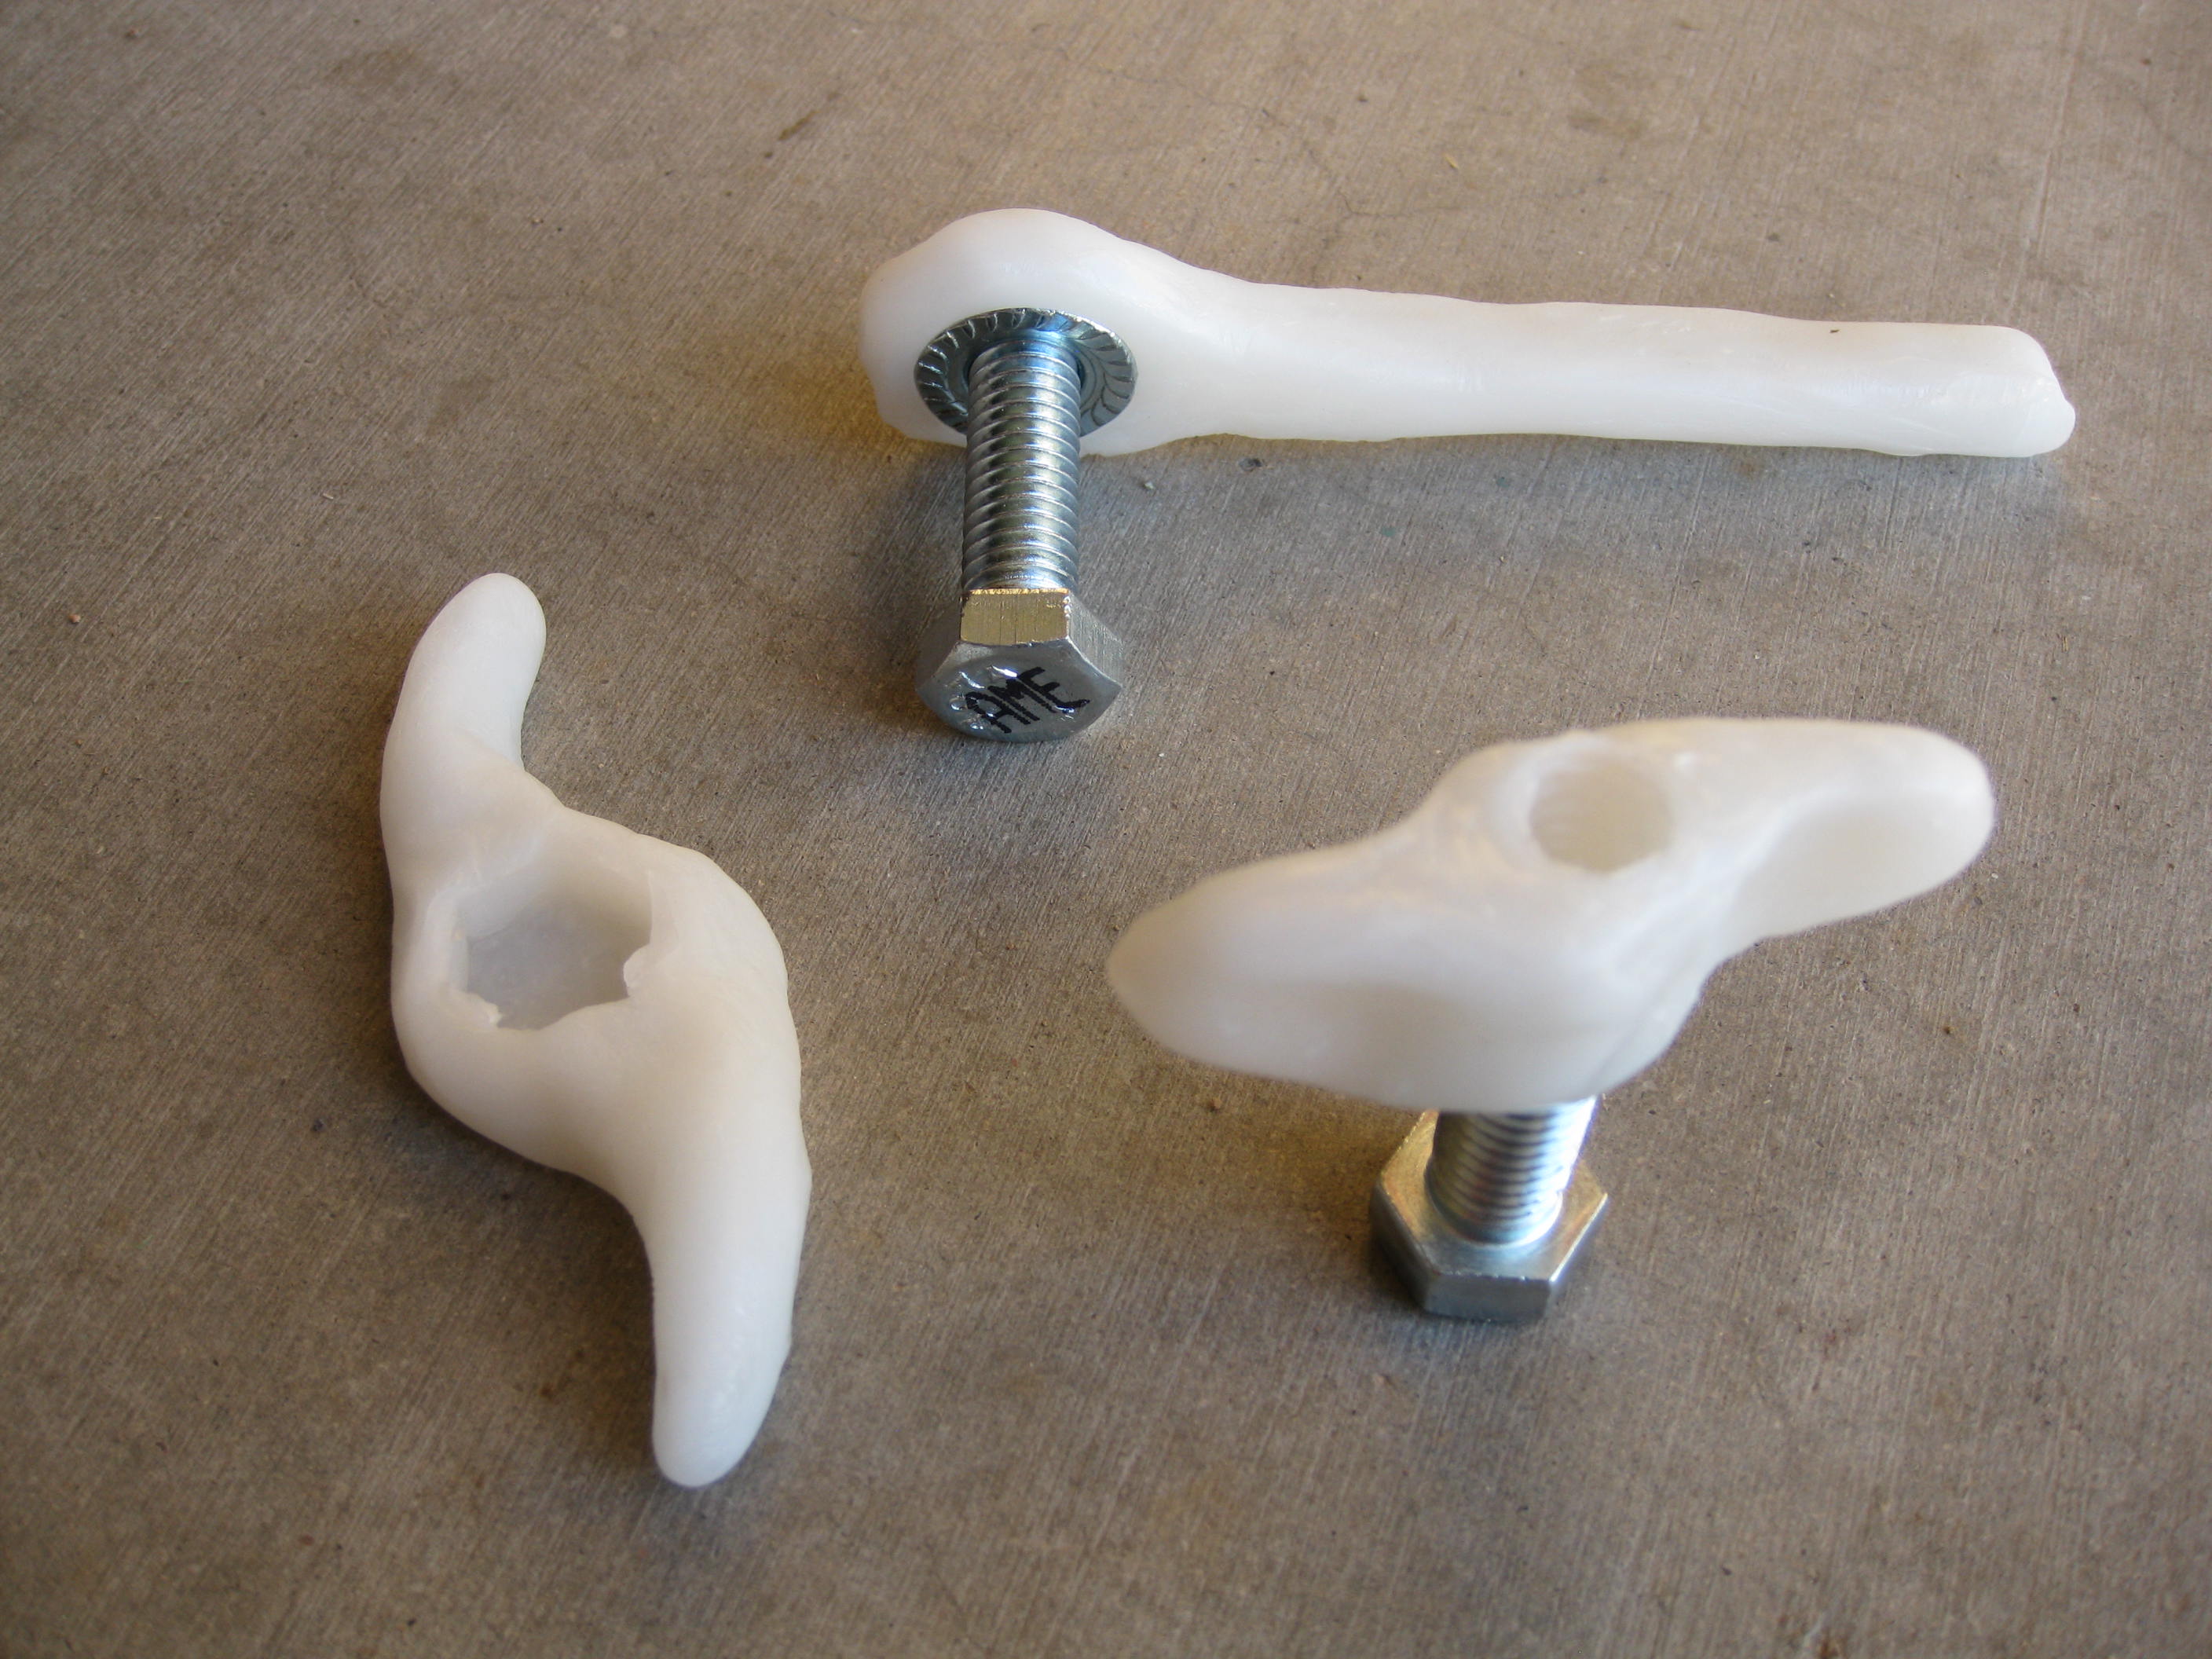
Modeling clay
![Modeling clay Pen holder]()
credits waag.com ![nutsbolts]()
credits Instamorph.com Perfect for organic or ergonomics shapes. You can easily put it on existing things to add volumes & elements.
Discover more techniques for making PoCs in this article from the BAM collective.
Here is a (non-exhaustive) list of materials and elements that can be used to make a demonstrator with relatively little equipment.
Project
Now it's about time ! Create your own PoC by using everyday life materials.
- Don't think too much and start assembling things around you quickly as a starting point.
- It will then be easy to progressively build the PoC around these elements by working through associations of ideas: which existing objects resemble this or that part of the prototype?
- Do not hesitate to go back and remove parts if you are not convinced of the result.
- Think about the usage scenario: what are the steps the user is going to perform, what are the functions and how are they accessible?
- Don't worry too much about the appearance of your object: the important thing is to show how it will be used.
Usage Scenario
The documentation must include the description of the usage scenario. To illustrate each action that the user will have to perform, you can take pictures of the prototype in a usage situation. Ask a friend to help you if needed!
You must show at least 4 steps of use, you are free to add more if relevant.
- Initial situation: describe the current situation and why it is problematic.
- Action 1: describe the first action the user must take to solve this problem using your product.
- Action 2, 3, ...: do the same for the next actions
- Resolving situation: Describe the situation you want to achieve and how you solved the problem using your product.
Documentation
Don't forget to document your project and your conclusions on your Notion as in this example: PoC of a cutlery case
Remember that your documentation will be the only basis on which you will be evaluated, so fill it out carefully!
Your PoC is complete? Congratulations!
In the next step we will see how to use drawings to represent and communicate your concept.